Vanilla Extract is a wonderful basic ingredient to be able to formulate in your own kitchen. Making it at home can be more affordable and allows you to know the ingredients and quality exactly, giving you the flexibility to customize the taste and strength of the extract to your personal preferences. It’s also incredibly simple to make.
What is in Vanilla Extract?
Vanilla extract, in its purest form, should contain only two ingredients: vanilla beans and alcohol. The alcohol is used to extract and preserve the aromatic vanilla flavor from the beans.
Why Make Vanilla Extract at Home?
Vanilla extract is a baking essentials that is an absolute necessity in almost any recipe. Despite the popularity of vanilla extract in recipes and the pivotal role it plays in flavoring our baked goods, we rarely consider the quality of this ingredient. High quality vanilla extract is expensive in stores, and if you’re a frugal person than you may be tempted to stretch your dollar a little further by selecting a more affordable imitation vanilla. However, when opting for the cheaper option, the quality and overall taste of the ingredient is jeopardized, as cheaper vanillas often contain unnecessary ingredients or added natural or artificial flavors. Some imitation vanillas do not even contain any actual vanilla beans.
However, most people don’t realize that vanilla extract is very simple to make and can be much more economical when made in your own kitchen. It involves minimal ingredients, and the flavor of pure homemade vanilla is unmatched by that of imitations. By formulating the extract in your own kitchen, you can create a high quality product with a lesser cost than that of similar quality in stores.
Things to know
Alcohol types: To make homemade vanilla all you need is vanilla beans and alcohol that is at least 70 proof, or has a 35% alcohol content. The most common and neutral choice would be vodka, but I enjoy using bourbon for the added depth of flavor. Other good options include brandy, rum, or whiskey. Keep it simple and use whatever you have on hand.
Sourcing Vanilla Beans: Most people do not have a local source for vanilla beans and will need to purchase them from an online source. However, you may be able to find them at your local health food or bulk store, and I have occasionally found organic Madagascar vanilla beans at Costco.
Time: The other key ingredient in making vanilla extract is time. For a very potent vanilla flavor, it is recommended that the vanilla be allowed to extract for 6 month up to a year. However, the minimum amount of time that is recommended before first using the extract is only 8 weeks. The good news is that once you start your extract it will continue to infuse flavor over time, so if you only use your vanilla occasionally you can simply leave the beans to sit and the flavor will continue to develop.
Reusing beans: Some people like to add more alcohol as they use their extract to stretch it even further, however the beans will eventually lose their potency which will result in a weaker flavor.
How to Make Homemade Vanilla
Ingredients and tools
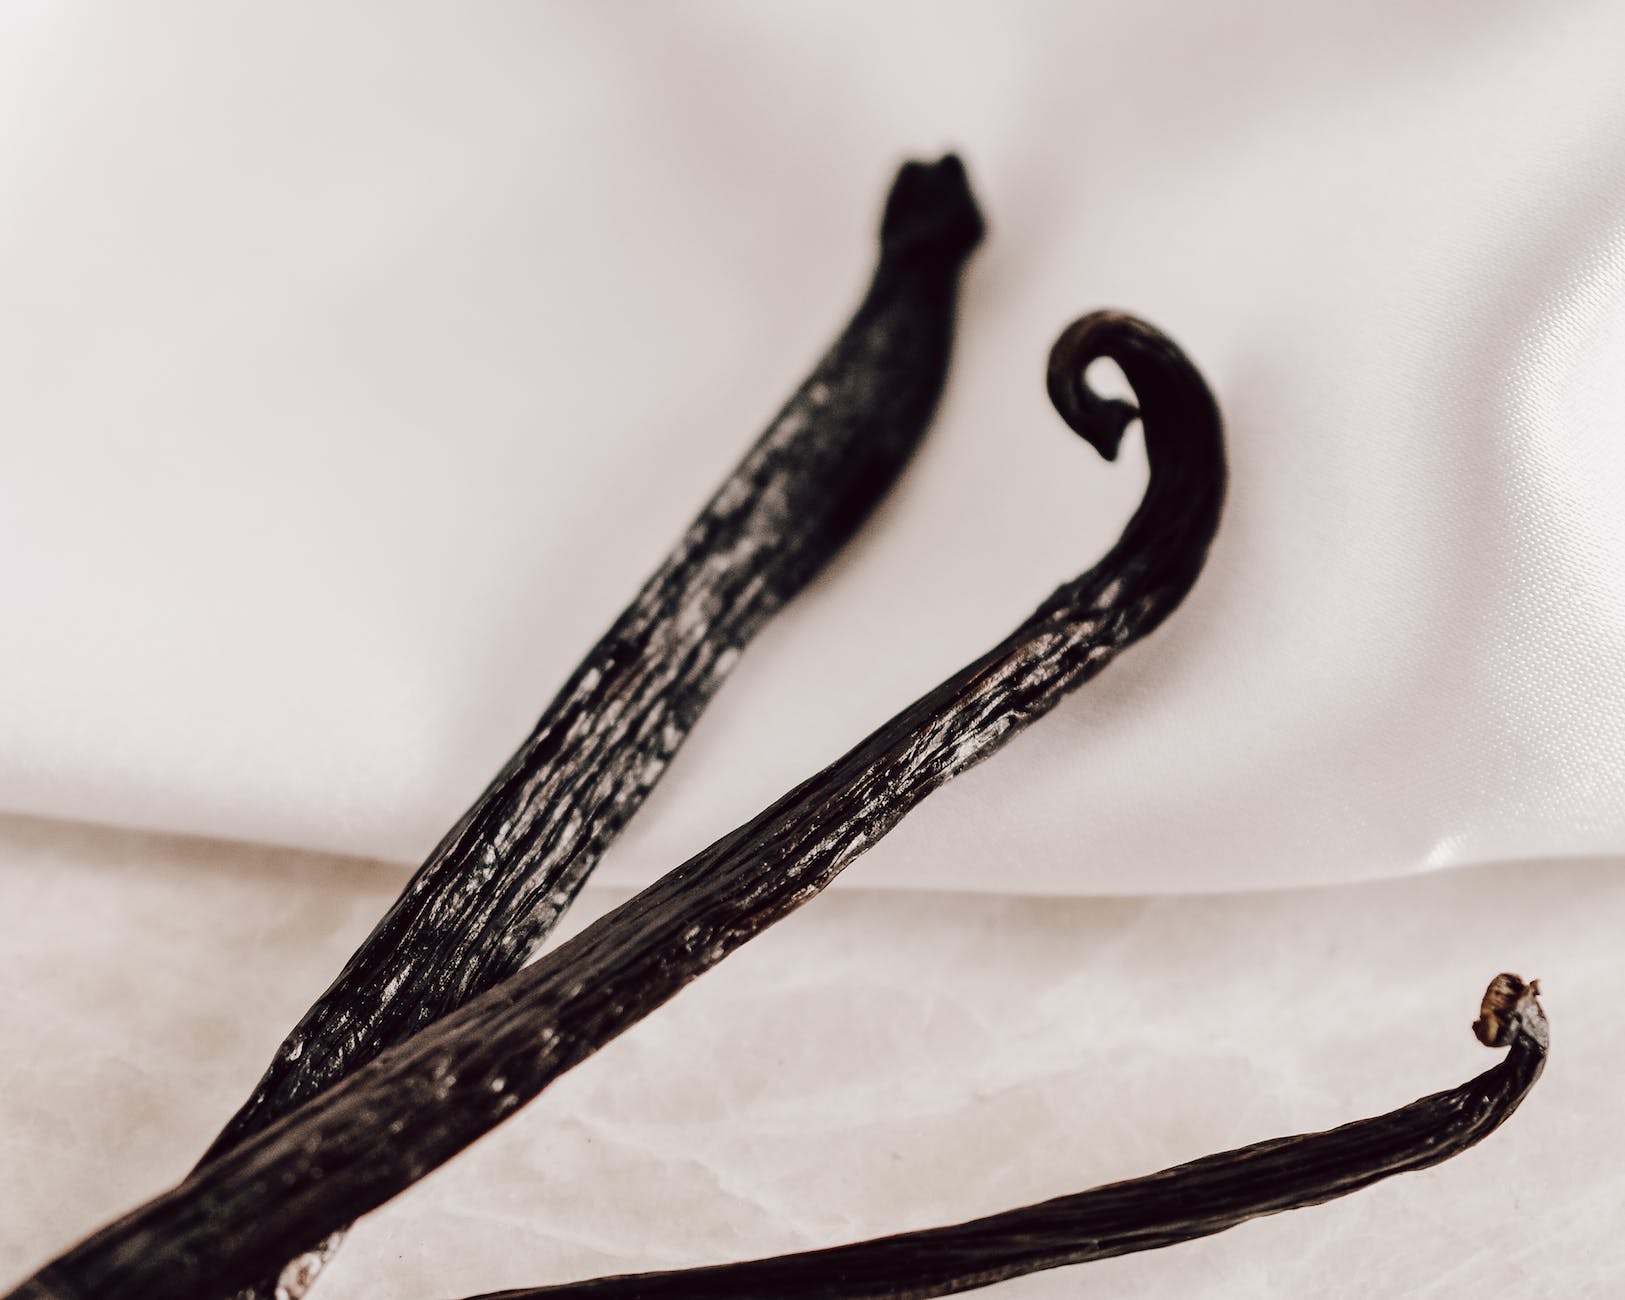
- 1 oz (approximately 6) Vanilla Beans – I opt for organic. Select your preferred variety, I like Madagascar.
- 1 cup Alcohol of Choice – Must be minimum of 7o proof or 35% alcohol. Vodka is the most common choice.
- Cutting Board
- Knife – A small paring knife is ideal.
- Glass Bottle or Jar – I like to reuse any small bottles or jars I have on hand, a previous glass vanilla bottle works great.
- Optional:
- Funnel – Helpful if your container has a narrow mouth.
How to Make Homemade Vanilla:
- Begin by slicing each bean lengthwise from top to bottom and flattening the bean by dragging the back of your knife from the top to bottom of the bean.
- Place sliced and flattened beans into your bottle or jar. If needed, cut the beans in half or quarters so that they will fit in your jar and be fully submerged in the alcohol.
- Pour the alcohol over the beans (using the funnel if needed). Close the lid and give the jar a good shake.
- Store the jar out of direct sunlight, shaking at least once a week for the first 8 weeks.
- After 8 weeks the vanilla will be ready for use, but the flavor will continue to increase over time.
- When the extract has reach your desired potency you can remove the beans, or leave them to continue infusing more flavor.
- Enjoy! Use in beverages, cookies, scones, ice cream, or any other recipes that call for vanilla extract.
Note:
- As you use the vanilla you can refill the jar with more alcohol to continue the extraction process over time and get more use out of your beans. Eventually the beans will lose their potency and you will want to replace them with fresh ones.
- Make sure the beans stay covered by the alcohol, if they are not you will need to shake your vanilla daily to avoid spoilage. When the liquid gets lower than the vanilla beans, remove the beans to avoid any molding or spoilage.
Variations:
- Try different types of alcohol for unique flavor profiles. Vodka is the most common choice and very neutral, it is also nice because you can visually see the vanilla darkening. I enjoy using Bourbon for a greater depth of flavor. Some other good options are Brandy, Rum, or Whiskey.
- Allowing the vanilla to extract longer will result in a more potent flavor. If you can wait six months, or even a year, you will have a very potent and fragrant vanilla extract.
- I have used a lower bean to alcohol ratio before in an effort to be extra frugal and the vanilla has still turned out, but does require a longer time period to become more potent.
What is your favorite way to use vanilla extract? Have you tried making it at home before? Leave a comment below and let me know how this recipe turns out for you!
Recipe Card
Homemade Vanilla Extract
Vanilla is an important kitchen basic that is simple and fun to make from scratch. Recipe yields (1) 8 oz bottle.
Ingredients & Tools
- 1 oz (approximately 6) Vanilla Beans – Select your preferred variety, I like Madagascar.
- 1 cup Alcohol of Choice – Must be minimum of 7o proof or 35% alcohol. Vodka is the most common choice. Cutting Board
- Knife – A small paring knife is ideal.
- Glass Bottle or Jar – I like to reuse any small bottles or jars I have on hand, a previous glass vanilla bottle works great.
Directions
- Begin by slicing each bean lengthwise from top to bottom and flattening the bean by dragging the back of your knife from the top to bottom of the bean.
- Place beans in your bottle or jar. If needed, cut the beans in half or quarters so that they will fit in your jar and be fully submerged in the alcohol.
- Pour the alcohol over the beans (use a funnel here if needed). Close the lid and give the jar a good shake.
- Store the jar out of direct sunlight, shaking at least once a week for the first 8 weeks.
- After 8 weeks the vanilla will be ready for use, but the flavor will continue to increase over time.
- When the extract has reach your desired potency you can remove the beans, or leave them to continue infusing more flavor.
- Enjoy! Use in beverages, cookies, scones, ice cream, or any other recipes that call for vanilla extract.
- Notes:
- As you use the vanilla you can refill the jar with more alcohol to continue the extraction process over time and get more use out of your beans. Eventually the beans will begin to lose their potency and you will want to replace them with fresh ones.
- Make sure the beans stay covered by the alcohol, if they are not you will need to shake your vanilla daily to avoid spoilage. When the liquid gets lower than the vanilla beans, remove the beans to avoid any molding or spoilage.

Share your thoughts